onProjectLoaded function get the Back button node from the .kzb file using its alias and add the event handler for the Back button.virtual void onProjectLoaded() KZ_OVERRIDE
{
...
// Get the reference to the Back button in the description panel.
NodeSharedPtr backButton = screen->lookupNode<Node>("#Back button");
// Add the handler for the Back button.
backButton->addMessageHandler(Button3D::PressedMessage,
bind(&ProgrammerTutorialApplication::onBackButtonClicked, this, placeholders::_1));
...
}ProgrammerTutorialApplication class after the onProjectLoaded function implement the event handler for the Back button click message.When the user clicks the Back button, the event handler runs the camera and widget highlight animation in reverse order, and hides the Widget Description Layer node.
class ProgrammerTutorialApplication : public ExampleApplication
{
...
// Handler for the Button.Pressed message for the Back button
// in the Widget Description Layer node.
void onBackButtonClicked(ButtonConcept::PressedMessageArguments& /*messageArguments*/)
{
	// Instantiate the animation for the Camera node, in reverse order.
	m_camera->addAnimationItem(m_targetAnimationClip, true, 1);
	// Instantiate the animation for widget highlighting, in reverse order.
	m_selectedWidgetListBoxItem->addAnimationItem(m_highlightAnimationClip, true, 1);

	// Hide the Widget Description Layer node.
	m_widgetDescriptionNode->setVisible(false);
}
...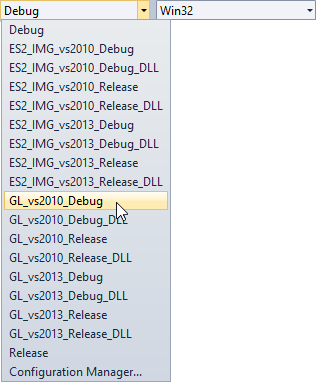
}For example, if you are still developing your application, select the GL_vs2010_Debug configuration. If you want to create a production version of your Kanzi application, select one of the available release configurations.
When you click the Back button in the Widget Description Layer node, the application plays the highlight animation in reverse and initiates the animation that brings the Camera node back to show the entire Widget Grid List Box. Note that the functionality of the Buy button is not covered in this tutorial.
